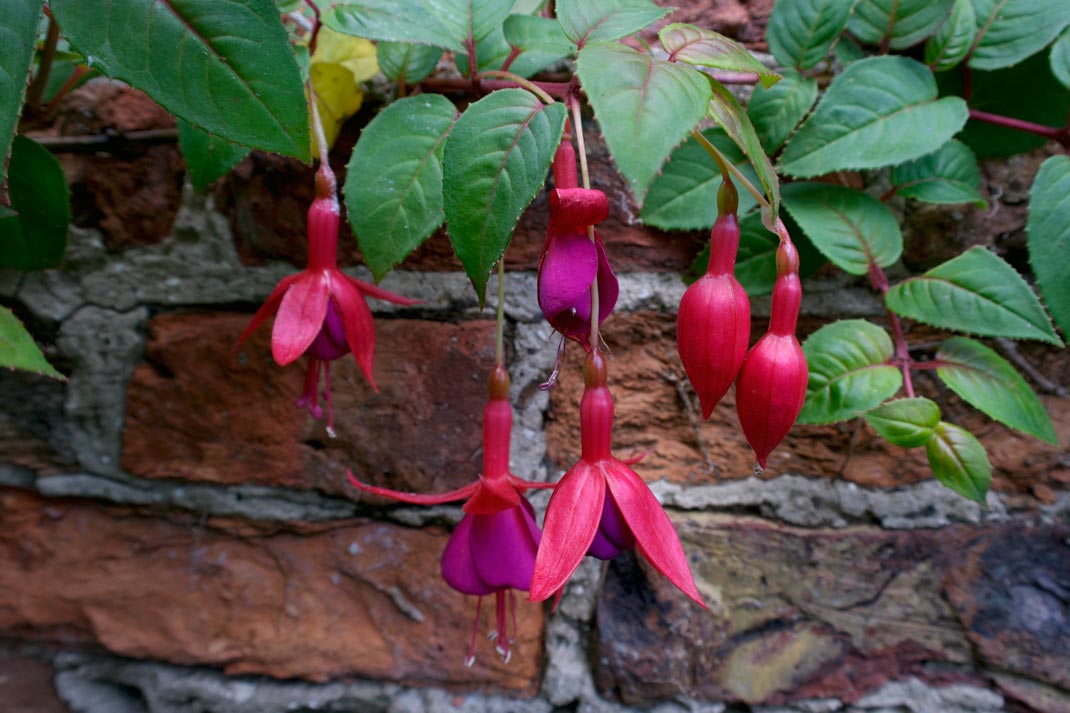
Softwood Cuttings
Taking Soft wood Cuttings
There are many benefits of vegetative propagation such as creating a clonal replica of the parent plant, it’s usually quicker to maturity than by growing from seed and cheaper than buying a fully grown plant especially if its a rare species. There are some downsides to vegetative propagation specimens can pass on diseases to the new plants, in some cases it is more difficult to ensure they grown, some might fail, but also some parent plants don’t produce suitable material so there is no other option but to purchase the plant or if possible grow from seed.
Softwood cuttings are taken from young current years growth. You can take these cuttings from April to June.
Plants you can take soft wood cuttings from:
Mainly deciduous perennials including hardy and tender and from a wide range of deciduous shrubs, including some trees.
- Aster
- Delphinium
- Phlox
- Dahlia
- Pelargonium
- Buddleja
- Hydrangea
- Fuchsia
- Some ornamental Cherries and Maples
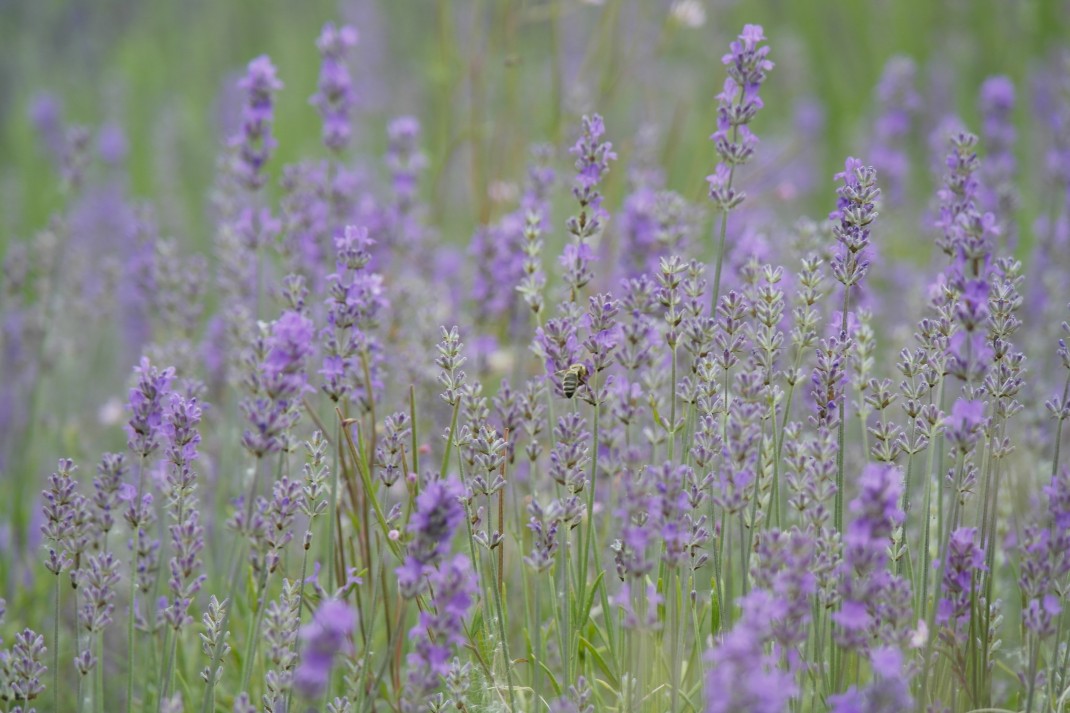
- Lavender (and semi ripe cuttings)
This is just a small list of what you can take softwood cuttings from. Remember that the basic steps on how to do these are the same, but there may be added variations depending on what species you are taking.
Step 1: Choose young side shoot just below a node about 5 -10 cm from the tip. Ideally not a flowering stem. Do this earlier in the day when the plant material is more turgid or full of water.
Step 2: Ensure that cuttings do not dry out. Place in a polythene bag.
Step 3: Remove bottom leaves so the lower third of the cutting is free of foliage. Delphiniums, Phlox and Asters you take a cluster of young shoots at the base of the plant. This is called Basal Cuttings.
Step 4: Immerse cutting in a fungicide solution to avoid fungal disease. (I don’t do this normally), as long as the plant material is from a healthy plant and the tools and surfaces i’m using are sterile then all should be good. Some people also use hormone rooting powder again use if you want i do usually and i still have a high success rate.
Step 5: Insert into a pot containing a mix of 50/50 sand and peat or proprietary cutting compost depending on your morals and what works for you.
Step 6: Many cuttings can be placed around the perimeter of the pot so you can get more in.
Step 7: Put in a greenhouse or propagator and keep it at 18-21 degrees celsius. I tend to put my cuttings in the conservatory, keep watch over them and follow step 8.
Step 8: Do not let the compost dry out, but don’t overwater! Also remove any dead or dying bits as the plants are growing.
Step 9: Carefully remove once new growth appears in the tips. Then pot them on individually in 9cm/10cm pots with general potting compost.

Picture is from tekura.school.nz

-
-
8 years
Tagged apple, apple fair, apples, art, autumn